The CoLab is excited to offer the opportunity for participants to build their own courses and host them on the CoLab platform. LearnDash is an LMS (learning management system) plugin that makes it easy to design a course.
Please note, that any course you create must align with the vision, mission, and aims of the CoLab.
When creating a course you have two options. You can either make it free to access, in which case the CoLab will work with you to secure funding. Or you can make it a paid course, which will generate profit, in which case you would have to pay for the cost of hosting the course on our platform.
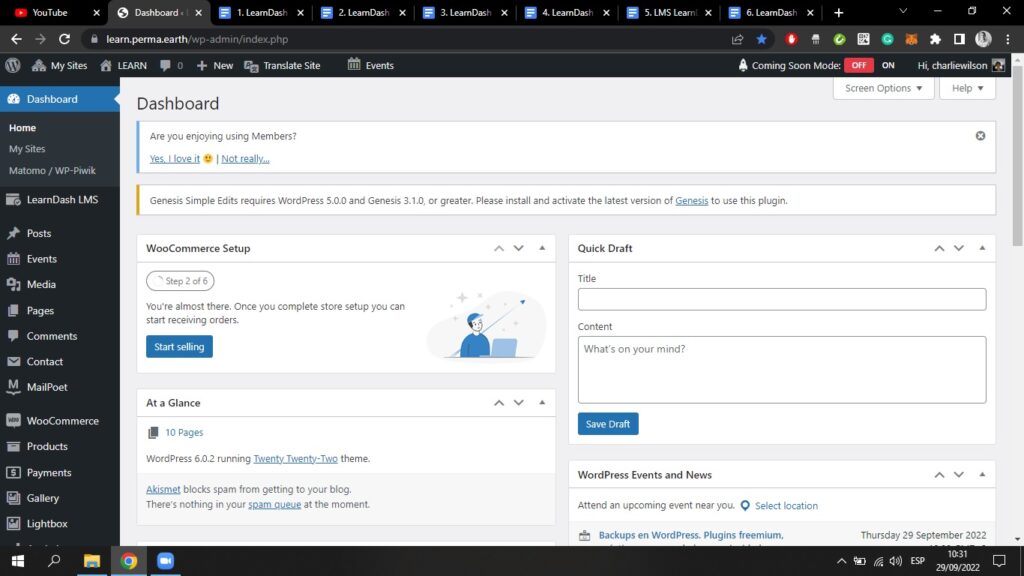
Your first step is to speak to the CoLab and gain the necessary permissions to access the course creator. Once you have been provided with a login for the back end, where you can access the course creator, you should see a WordPress dashboard like this;
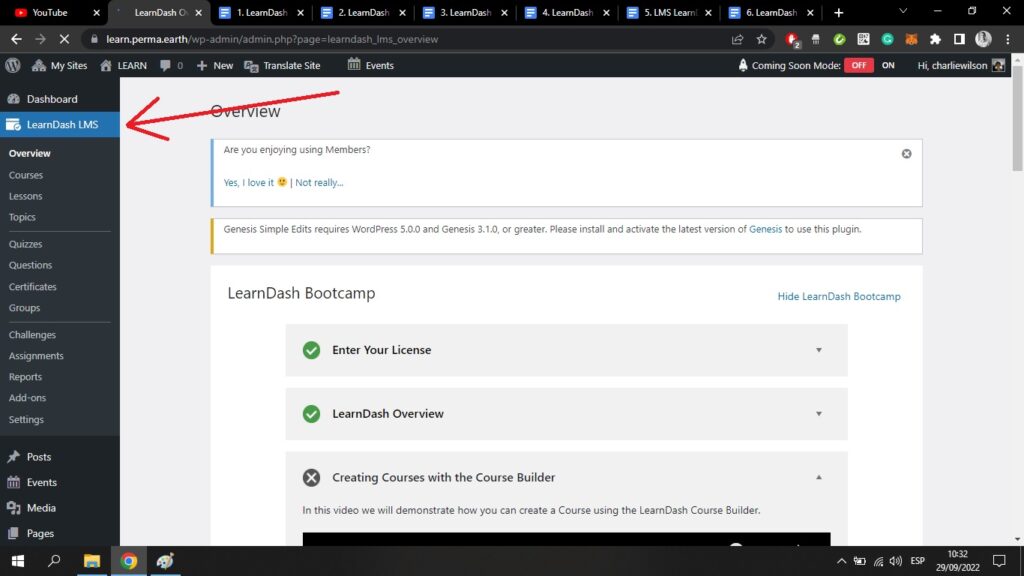
By clicking on the LearnDash LMS button on the left-hand side, you will see the following drop-down menu (where it says overview, courses, lessons, topics, etc.);
From here, click on Courses and you will see the following screen;
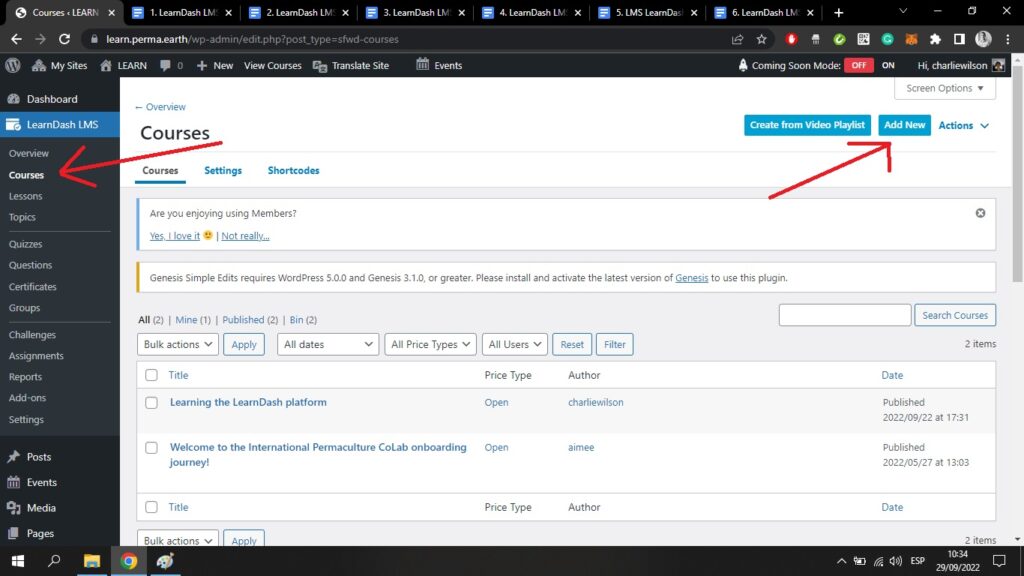
Here you can see all of the existing courses. Clicking the blue Add New button on the top right of the screen will take you to the WordPress block editor;
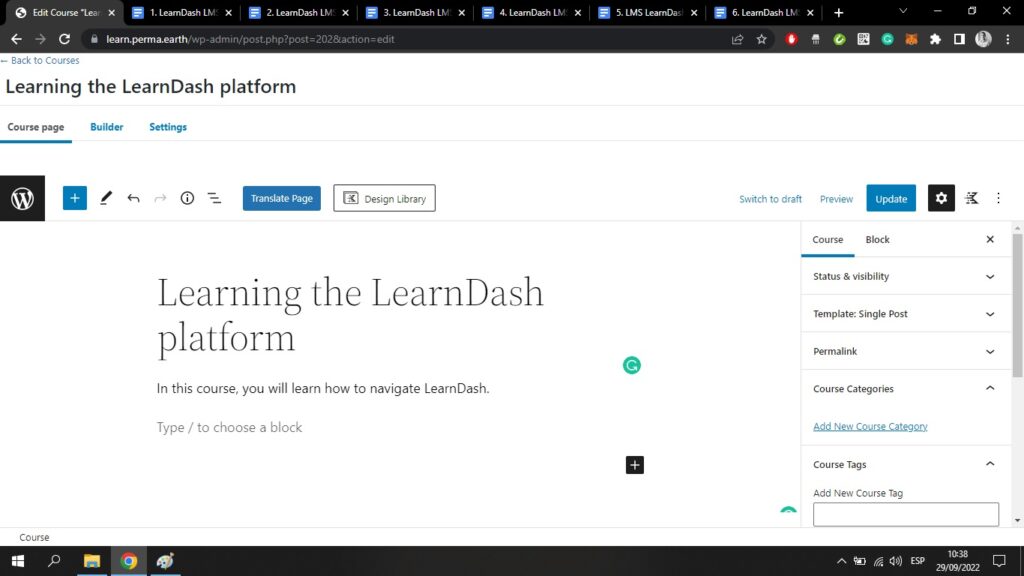
On the right-hand side, you can add course categories, course tags, featured images, and more. Make sure that you give your course a main image that is relevant, and that you won’t have any copyright issues with. You can use your own photographs or stock images.
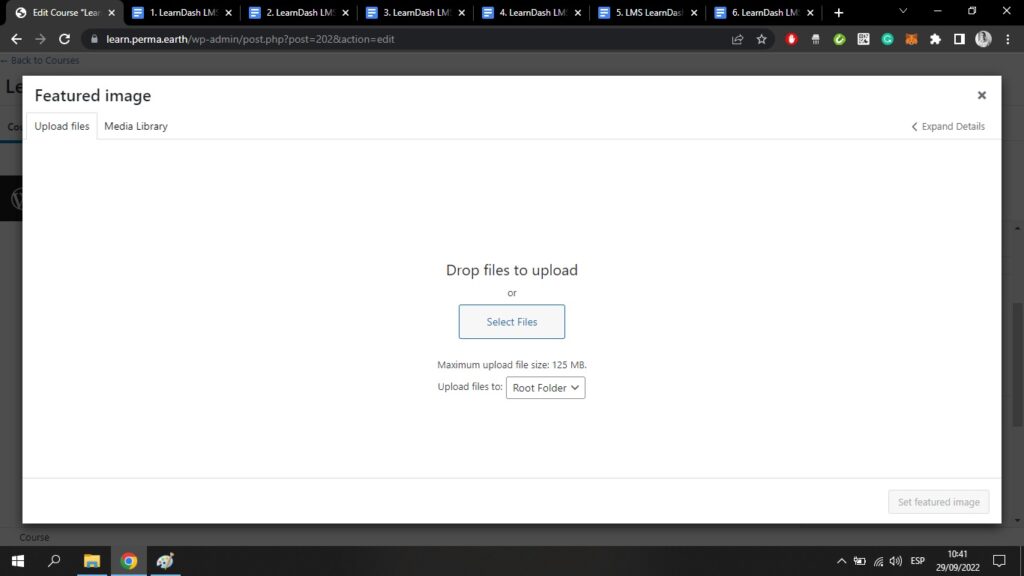
By clicking on the Featured Image tab on the right-hand side, and then clicking Set featured image, you will be able to upload a .jpeg or .png file from your computer;
To really get stuck in with building your course, click the Builder tab at the top of the page. You will see a screen like this;
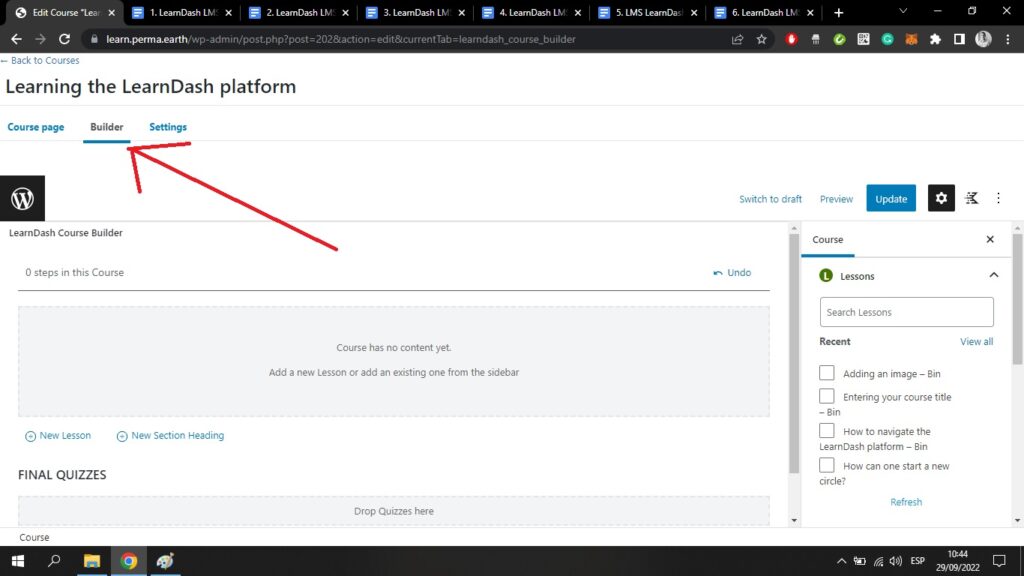
This is where you can add lessons, sections, and topic headings. Click on New Section Heading to add a module title to your course.
Then click on New Lesson, to add the name of your first lesson. Creating lots of small lessons will help students to access the course content in digestible, bite-sized chunks. This will ensure they don’t lose interest or get overwhelmed.
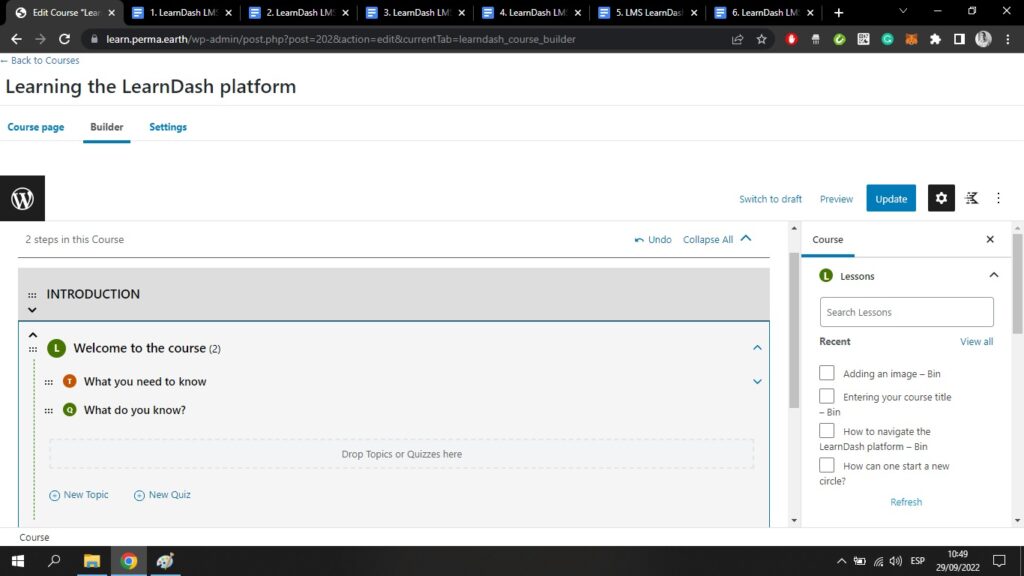
Here I have created a module called Introduction and a first lesson called Welcome to the course;
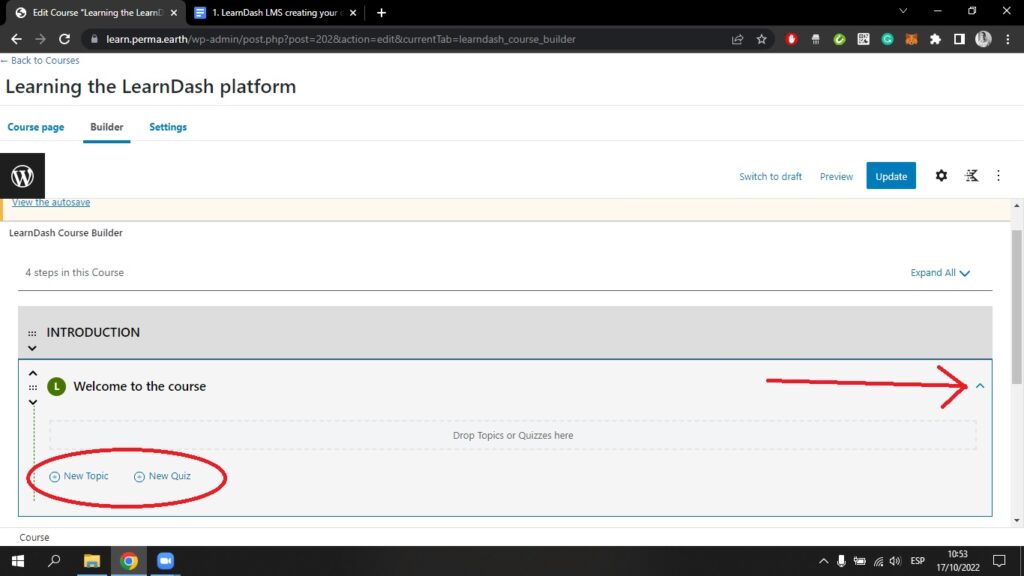
By clicking the small blue arrow on the right-hand side of the first lesson, I opened a drop-down menu. Here I can add a New Topic and I can add a New Quiz.
By adding a new topic, you effectively add a sub-division to this lesson. You can add as many quizzes as you wish, after each topic, or just at the end of each lesson.
During these steps, you are creating the basic outline of your course. You can always come back to the course Builder later if you need to make changes.
Here I have created a topic called “What you need to know”, and a follow-up quiz called “What do you know?”;
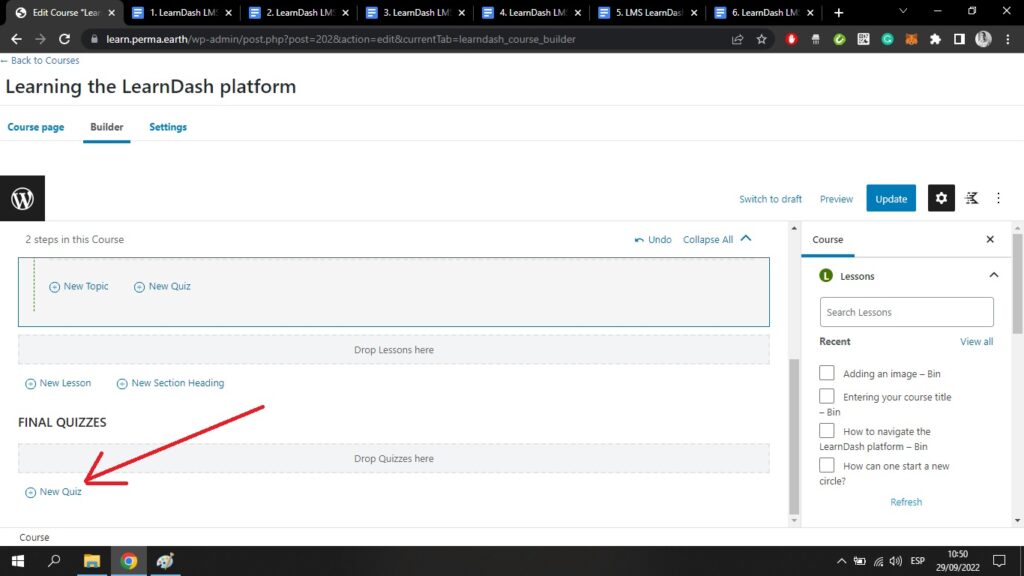
At the very bottom of the course Builder page, you can see a section called Final Quizzes. By clicking New Quiz here, you can add a quiz that will go at the very end of the course, to test your user’s overall knowledge;
Once you have structured the outline of your course, you can head over to Settings. This can be found at the top of the page, to the right of the “Builder” tab;
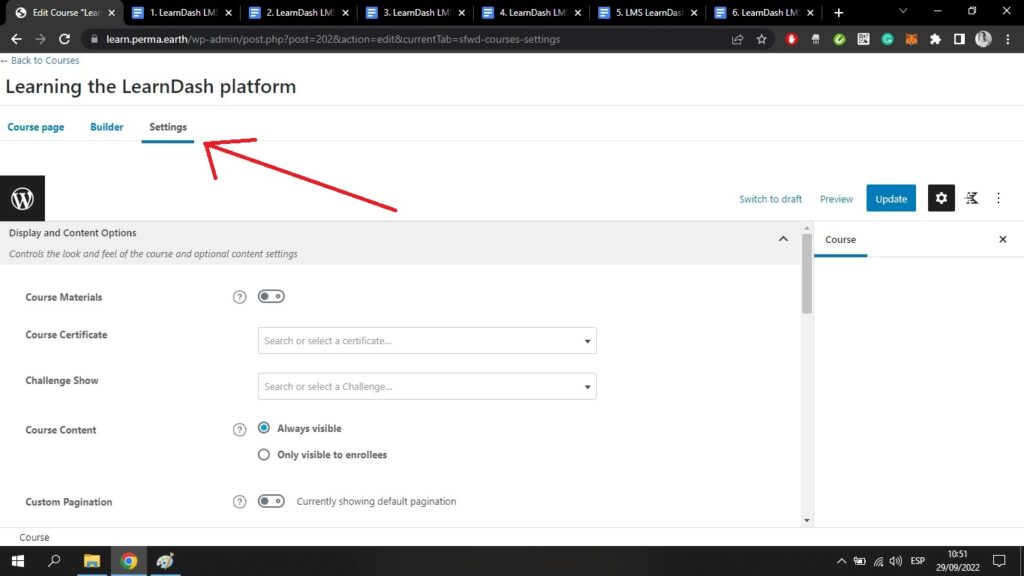
Here you can add course materials. You can add a course certificate. You can choose to make the course always visible and open, or only visible to people who have enrolled. By scrolling down this page you will also find the course access settings;
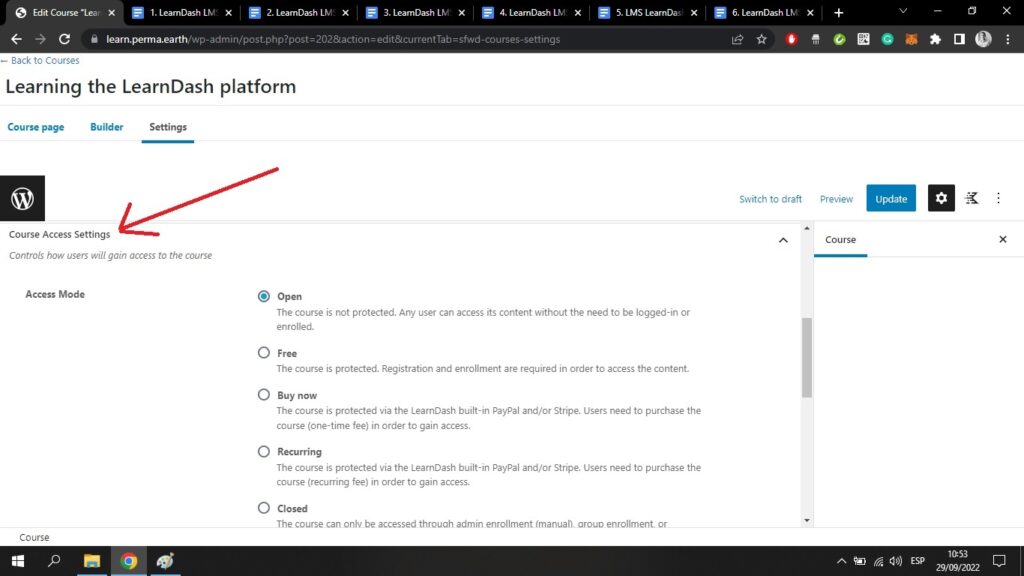
Here you can choose to make your course;
- Open – available to all
- Free – free but users will need to register
- Buy Now – a paid course
- Recurring – a recurring payment for access to the course
If you select “Buy now” or “Recurring”, you can then set your pricing points.
In the final settings, at the bottom of this page, you can set course prerequisites, course points, course access expiration, and more;
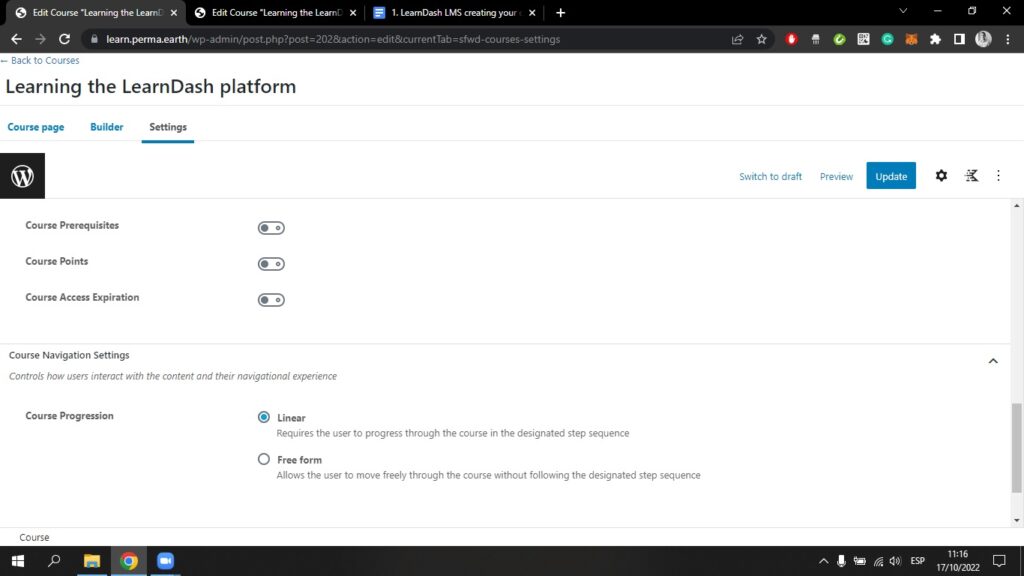
Here you can choose to make the course navigation linear, or allow users to go through the course in free form.
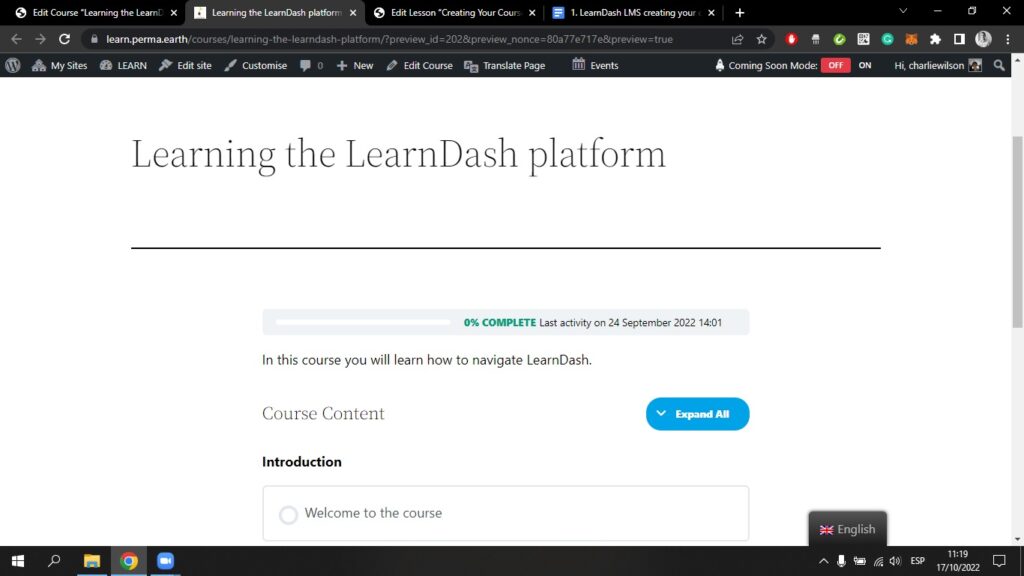
When you have completed creating your course, be sure to click Publish. This is the blue button on the top right of your screen. Once the course is published, you can view the course on the front end. Here is a very basic course that has been published;