Hi, and welcome to the second lesson of this course, where you will learn how to create and add content.
First, go to your LearnDash LMS tab on the left and click on Lessons;
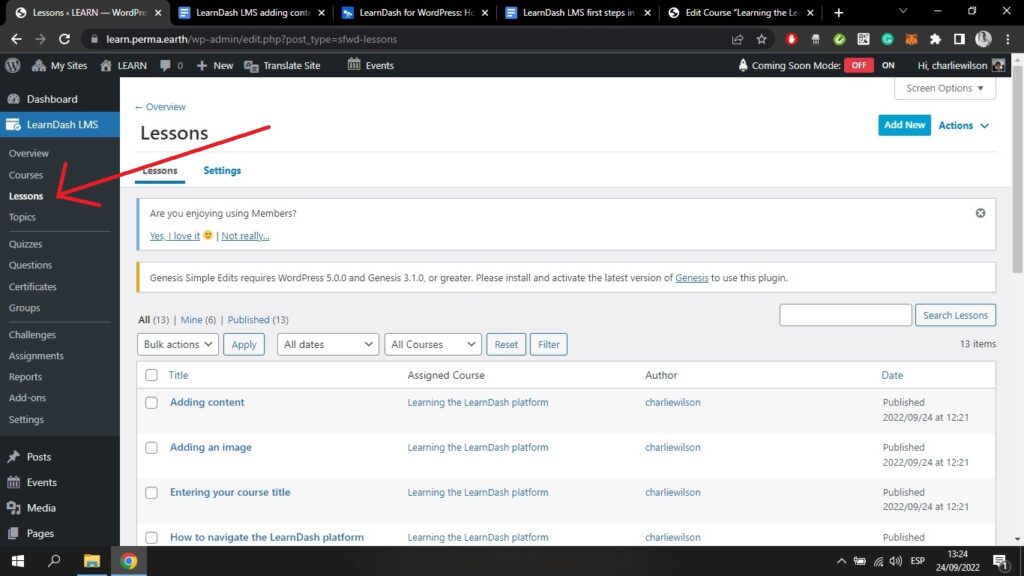
Here you will see an interface with all of the lessons you have created in the course Builder. You will also see which course the lessons belong to.
By clicking on the Settings tab at the top of the page, you will be taken to a page that looks like this;
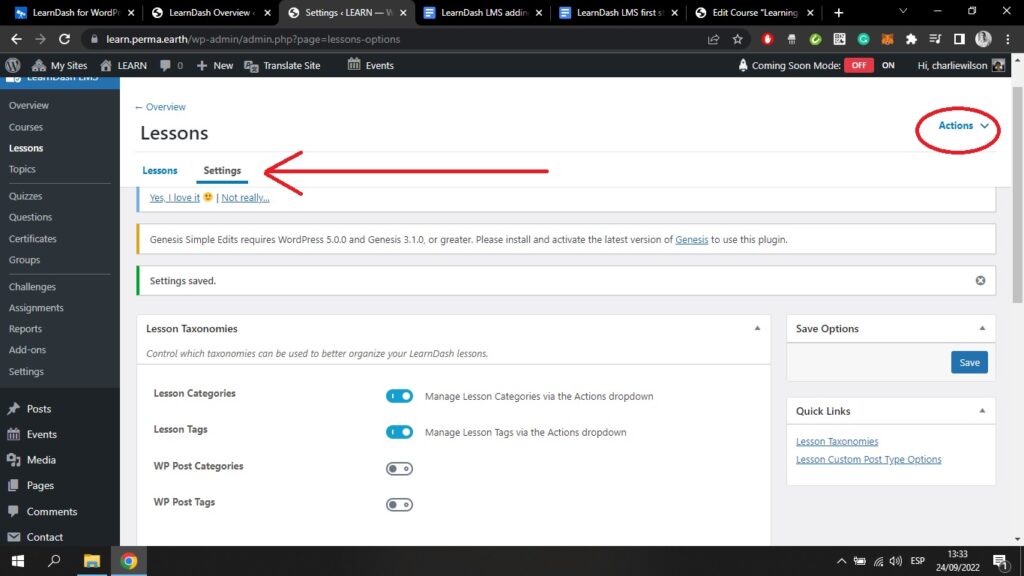
Here you can change the “Lesson Taxomonies”. You can toggle on the;
- Lesson Categories
- Lesson Tags
- WP (WordPress) Post Categories
- WP (WordPress) Post Tags
You then need to click the blue Save button on the right of your screen. By doing this, you will be able to manage these four settings from the blue Actions button at the top right of the screen.
By scrolling down the Settings page, you will be able to change your Lesson Custom Post Type Options;
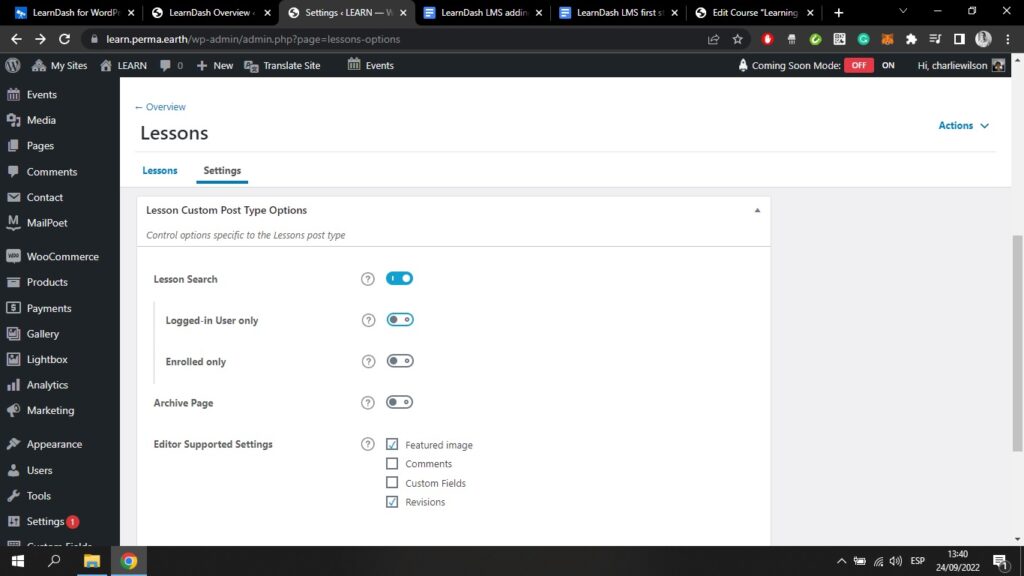
Here you can choose whether lessons will show up in a search, if lessons will have their own archive page, and more.
Let’s now come back to the lessons area by clicking the Lessons tab at the top of your screen;
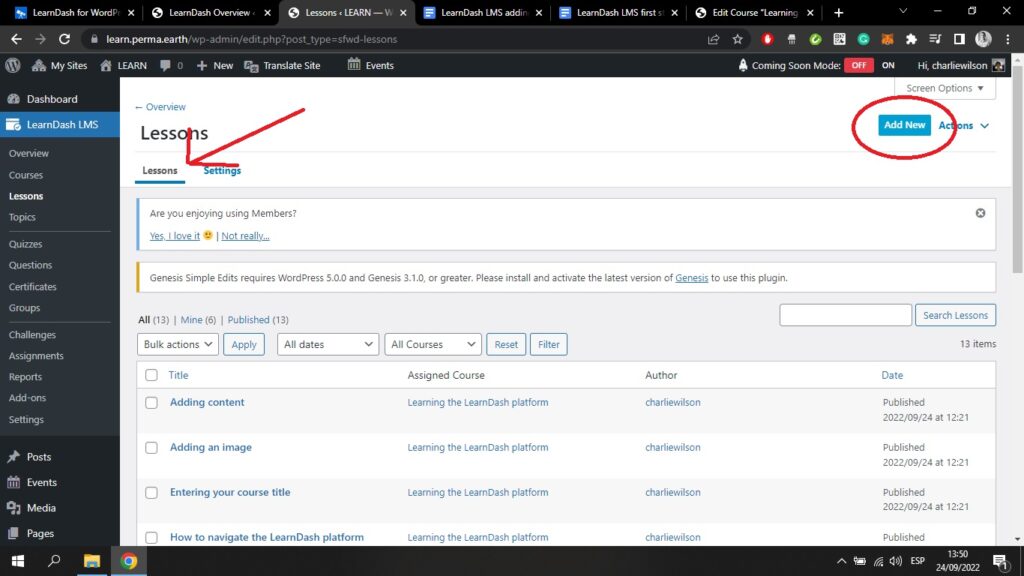
Here you can add a new lesson by clicking the Add New button at the top right of the screen. However, if you followed my previous lesson, you will have already created your course outline in the course Builder.
Let’s click on one of the lessons from this page. If I click on the lesson titled “Adding content”, I will be brought to a page that looks like this;
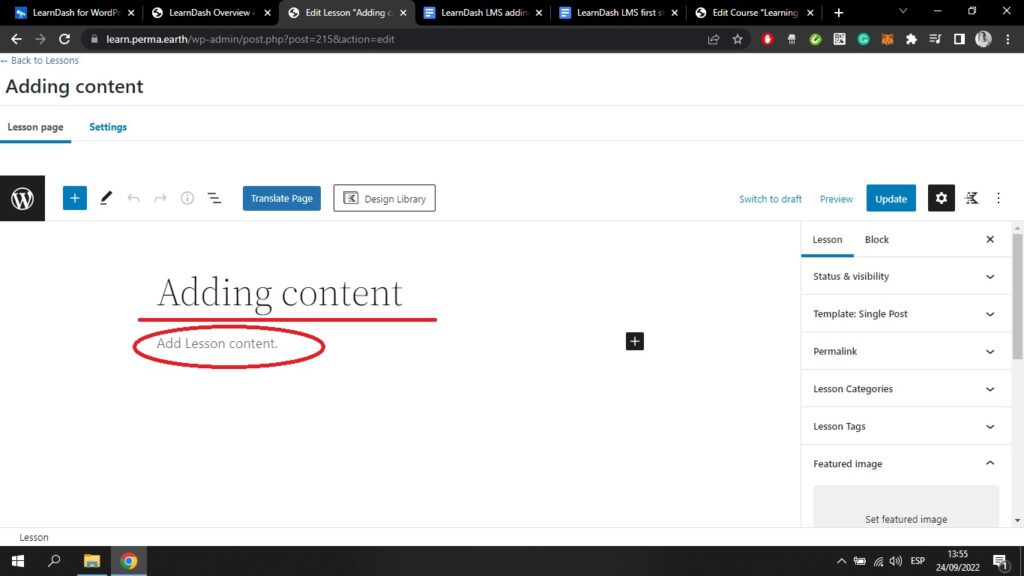
Here you can see that the lesson title is already visible – in this case, it is “Adding content”.
In the circled area that says “Add Lesson content”, you can add content using WordPress’ block editor.
If you begin typing, you will automatically add a paragraph. If you click the white cross in the black box, you will see a dropdown menu of different “blocks” that you can add;
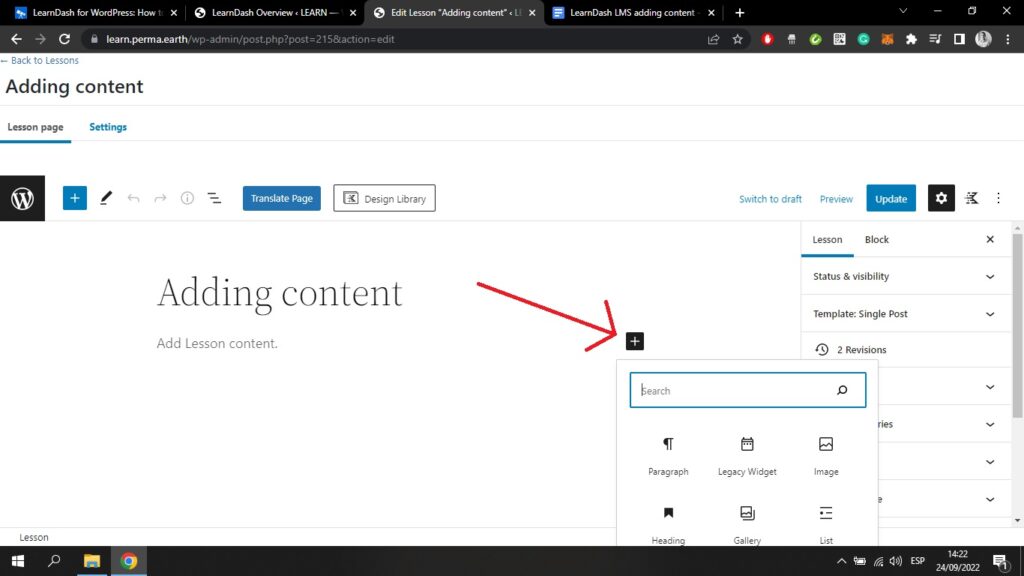
You have the option of adding a;
- Paragraph
- Legacy Widget
- Image
- Heading
- Gallery
- List
A paragraph, as you may have guessed, is a block of text. Let’s explore what options you have when you create a paragraph;
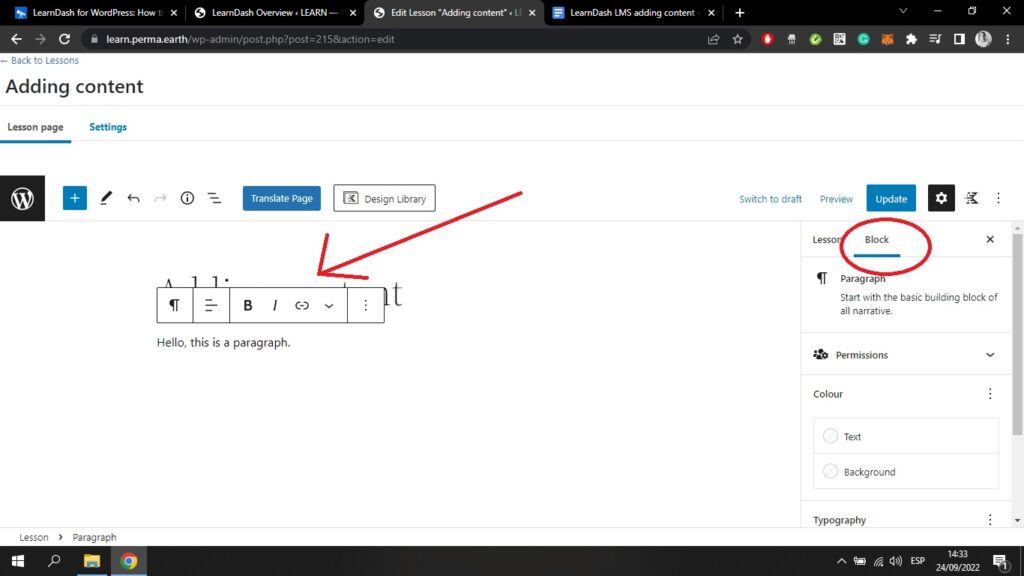
Once you create any “block” of content, a sidebar will come up, on the right-hand side of the screen, that will allow you to change the settings of this block. For a paragraph, you are able to change the color of the text and the background. You may also change the font size, as well as other settings such as letter spacing, etc.
As you can see, above the paragraph, another bar appears that allows you to make the text appear in bold or italic, add a hyperlink, change the text alignment, and more.
If you choose to add an image, a screen like this will appear;

By clicking “Upload”, you can upload an image from your device. You could also copy an image from a URL. It’s important to be mindful of copyrighted images. Try to use your own photos or images from stock photo websites.
Again, you have a number of options to customize this “block” that appear on the sidebar on the right-hand side of the screen, and directly above the block;
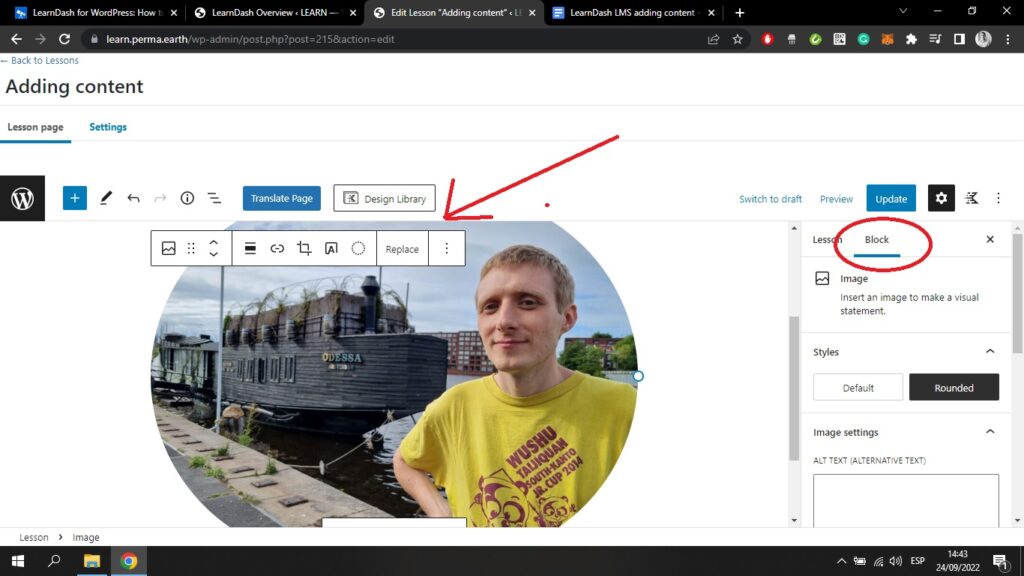
You can have an image that has rounded edges (as above). You can also change the image alignment, crop the image, add text over the image, add a filter, and more.
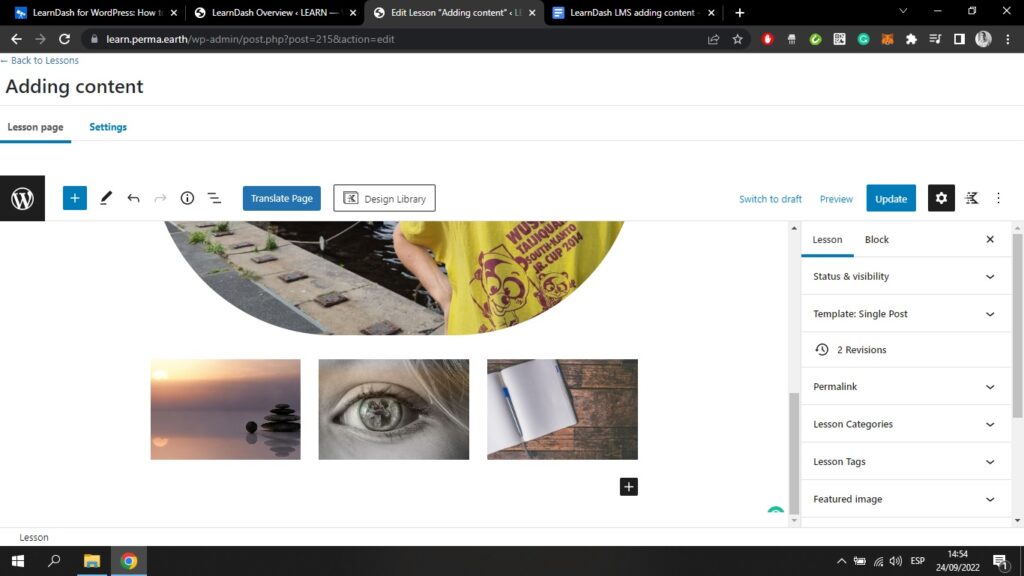
If I click “add block”, and choose to add a gallery, I can add a series of images at once;
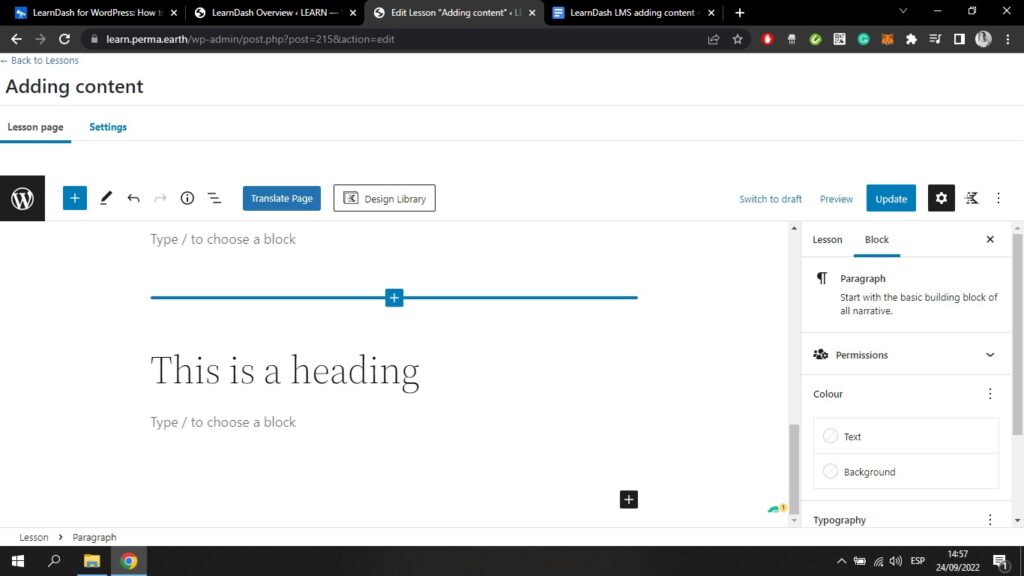
If I click “add block”, and choose to add a heading, I can add a subheading within the text;
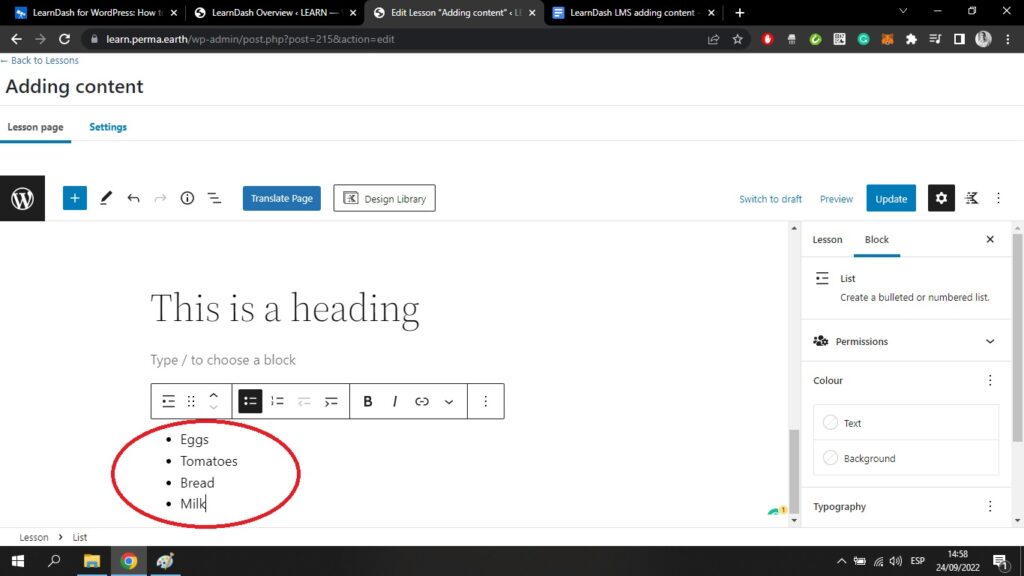
And finally, if I click “add block”, and choose to create a list, I can add a bulleted list to the lesson;
If I click the blue “Update” button on the top right of the screen, and then click the preview button next to it, I will be able to see this lesson as it would appear on the front end.
This (funny looking) lesson, appears like this;
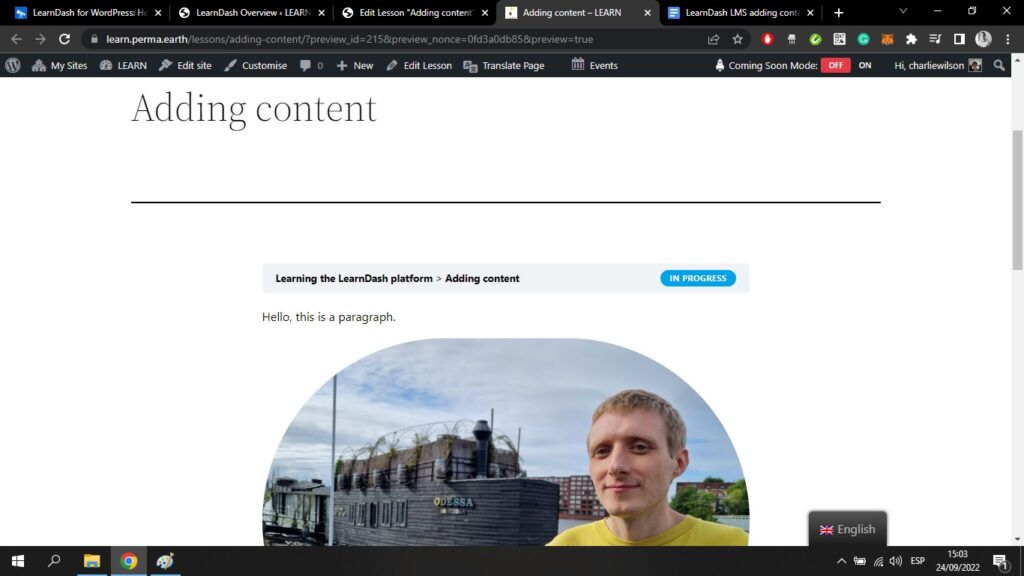
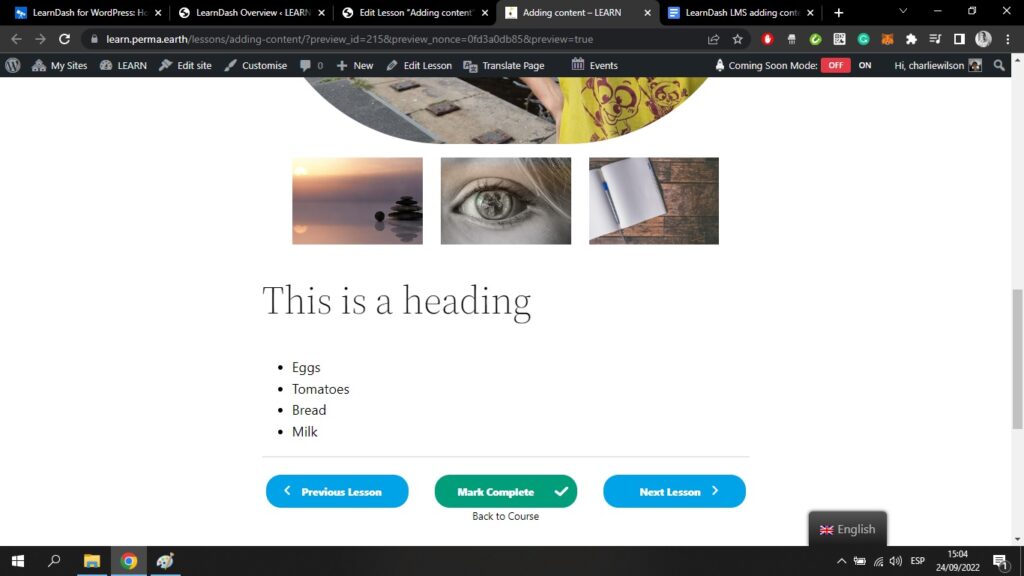
Here, as a user, I can view all of the course content that has been added to the lesson so far. I can mark the lesson as complete. I can also skip to the previous lesson or the next lesson.