Remember that you can add topics and quizzes to your lessons in the course Builder. We covered this when you learned how to create your basic course outline.
Topics are like subdivisions that enable you to create bite-sized chunks within each lesson.
When you log onto the back end of WordPress, you can navigate to the Topics tab within the LMS LearnDash plugin, on the left-hand side of your screen;
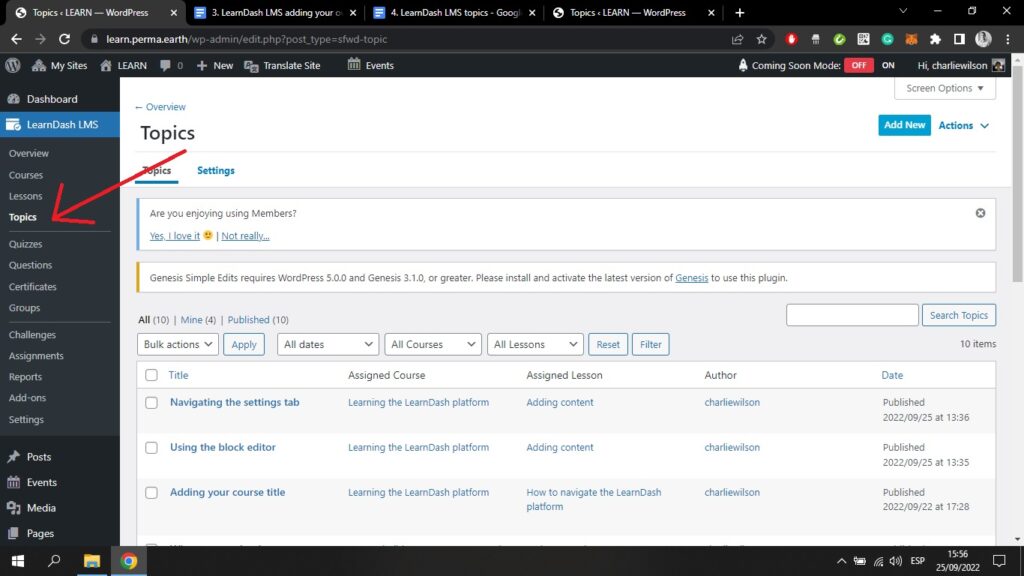
Here you can see all the topics on your course. You can see which course they appear in, which lesson they appear in, the author, and the date they were published.
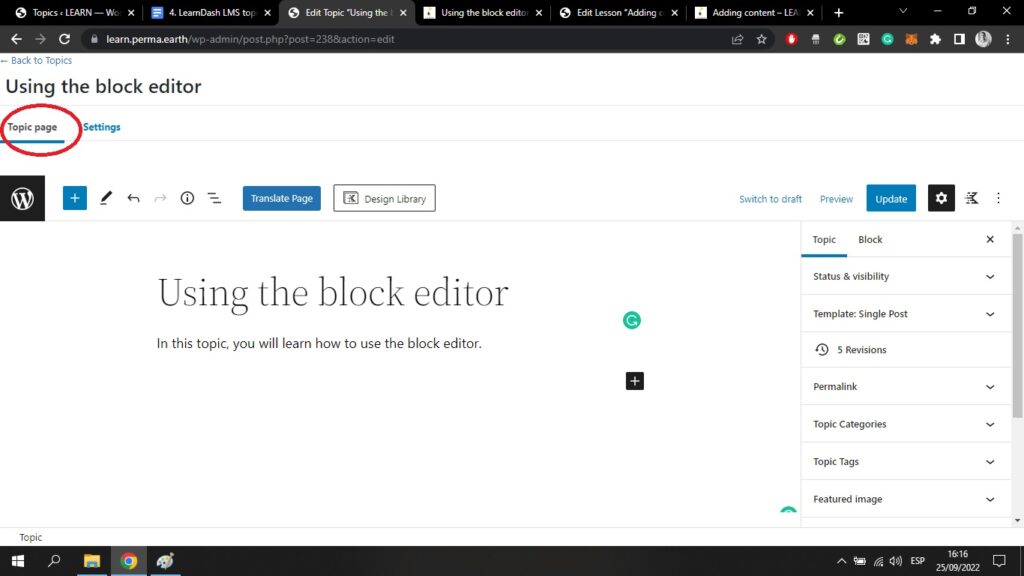
If you click on the topic that you wish to edit, you will be taken to the WordPress block editor, which by now you should be familiar with;
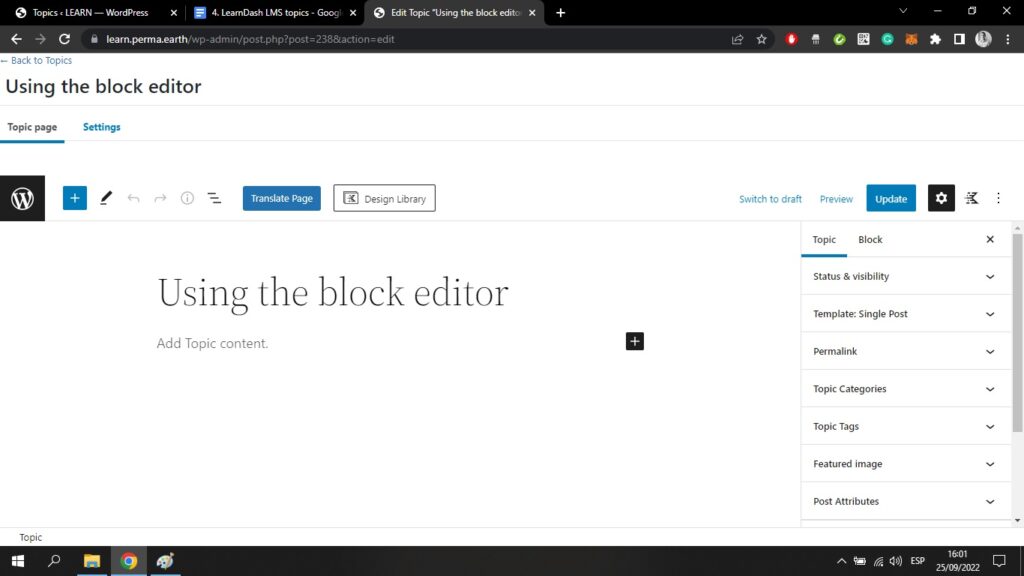
You can see the topic title, which in this case is “Using the block editor”. Here you have all the same features that you have used when on the Lesson page.
Just as before, you can add paragraphs, headings, lists, images, and galleries.
If you click on the Settings tab at the top of the screen, you will see exactly the same settings options as you had when creating a lesson;
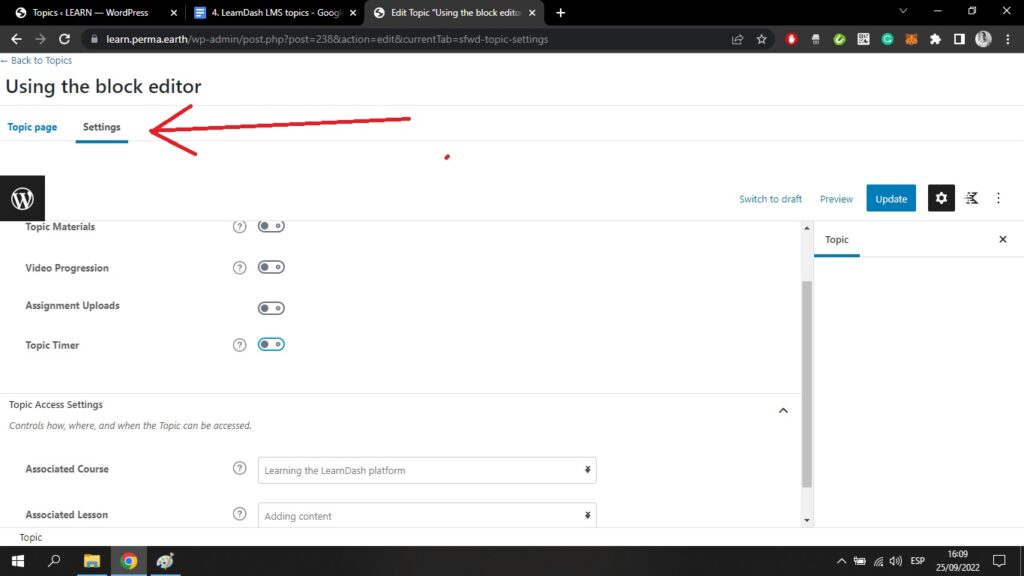
Again, you can add topic materials from your device, you can embed videos from YouTube, you can add assignments, and you can add a topic timer.
At the bottom of this page, you can state which course and which lesson you want this topic to be associated with.
Going back to the Topic page and the WordPress block editor, I have created here a simple topic page with just one paragraph;
If I click the blue Update button at the top right of my screen, and then the Preview button next to it, I will be able to see my Topic page as it appears on the front end;
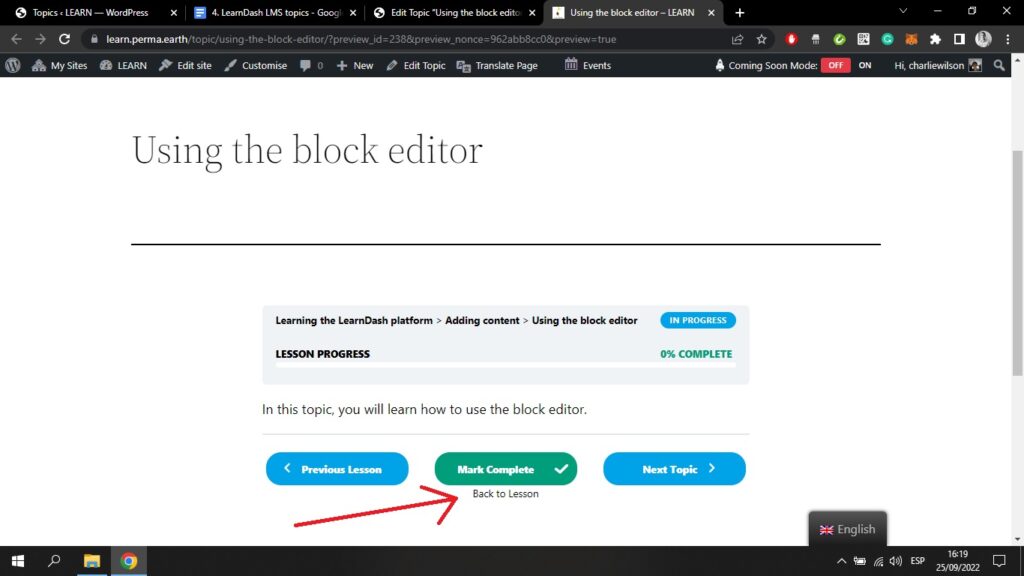
By clicking “Back to Lesson” (see arrow above), you can navigate back to your lesson page on the front end.
As you can see, all the topics and quizzes within your lesson appear at the bottom of your lesson page, in a box like this;
