
In this lesson, we will look at adding quizzes to your course and explore quiz settings. Hopefully, you have created your basic course outline using the course Builder from the first lesson.
In the course Builder, you were able to add lesson titles, topic titles, and quiz titles. If you navigate to the Quizzes section within the LearnDash LMS plugin, you will see a screen like this;
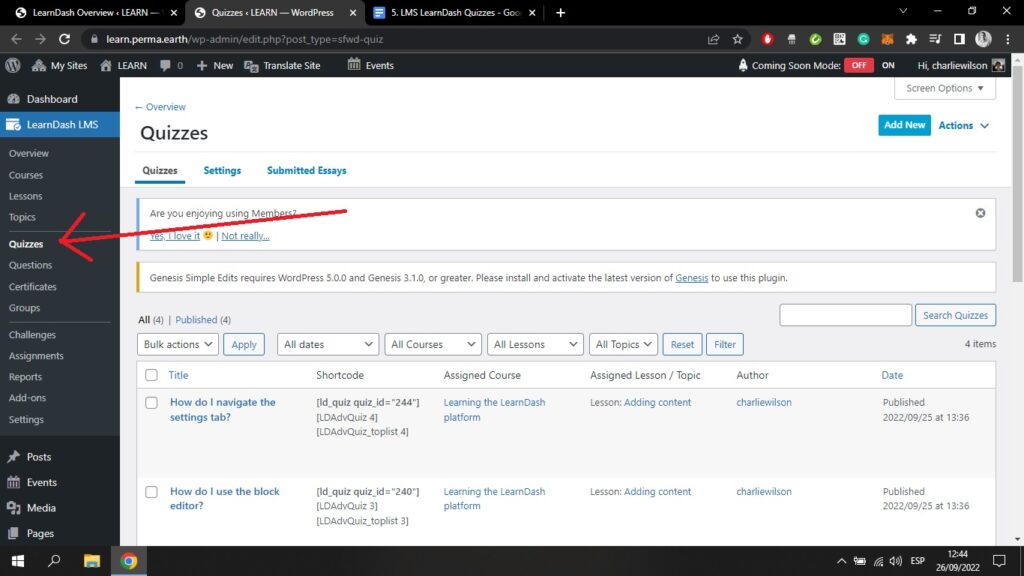
Here you can see all the quizzes which you have previously added to the course Builder.
If you click on the Settings tab at the top of your screen, you will first see these Quiz Management settings;
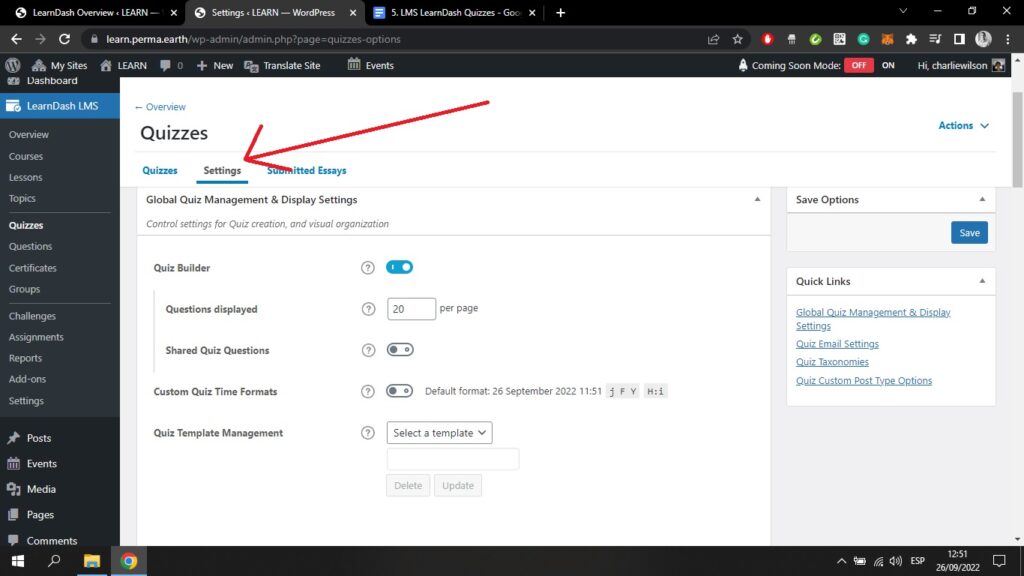
Here you can control the displays, including how many questions can be displayed on each page.
By scrolling down the page you will come to some Email Settings;
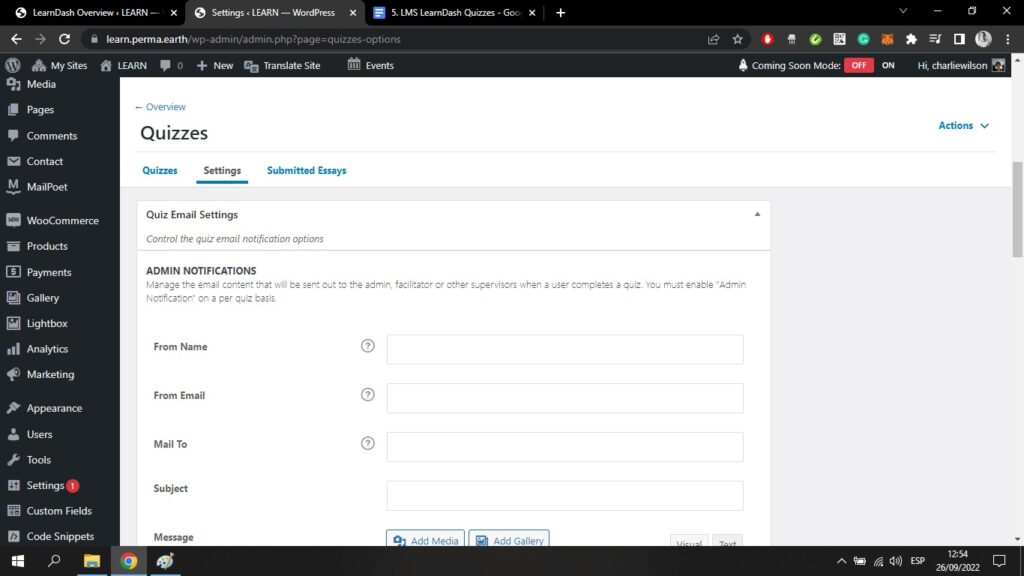
Here you can control the notifications that both admin and users will receive when a user completes a quiz.
Further down this page, you have the Taxonomies, and the Post Type Options, both of which you would have seen on other Settings pages.
At the top right of your screen, you can see the blue Actions button. This allows you to import and export quizzes.
There is a tab at the top of your screen called Submitted Essays. If your quiz requires users to submit an essay, this page is where it would appear for you to review;
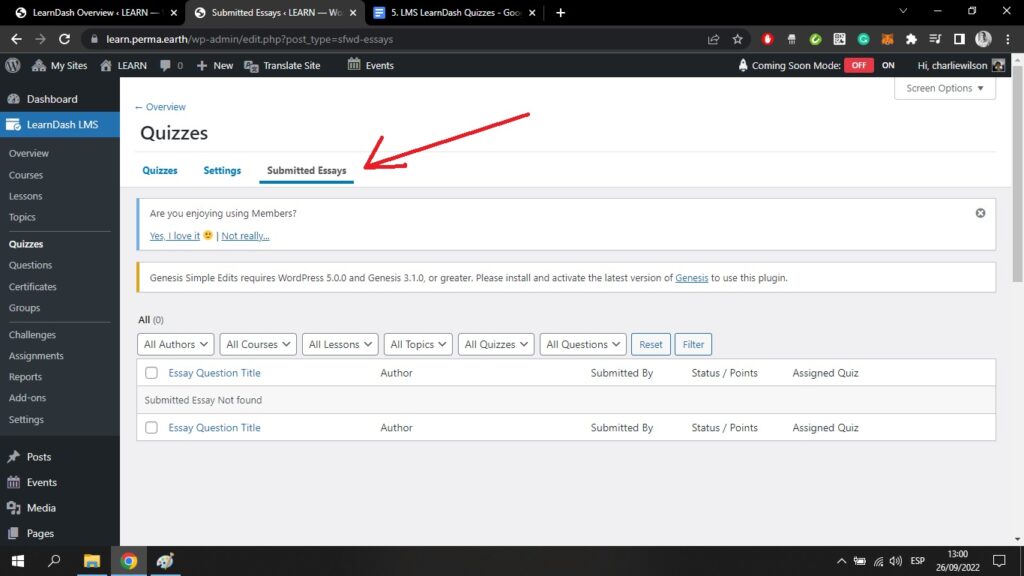
You would also be able to see who submitted the essay and which quiz the essay comes from.
If you go back to the Quizzes tab at the top left of your screen and click on a quiz you have already created using the course Builder, you will come to the WordPress block editor;

Here you could add a picture or a short paragraph to your quiz page, as it would appear on the front end.
Let’s take a look at the quiz Settings tab;
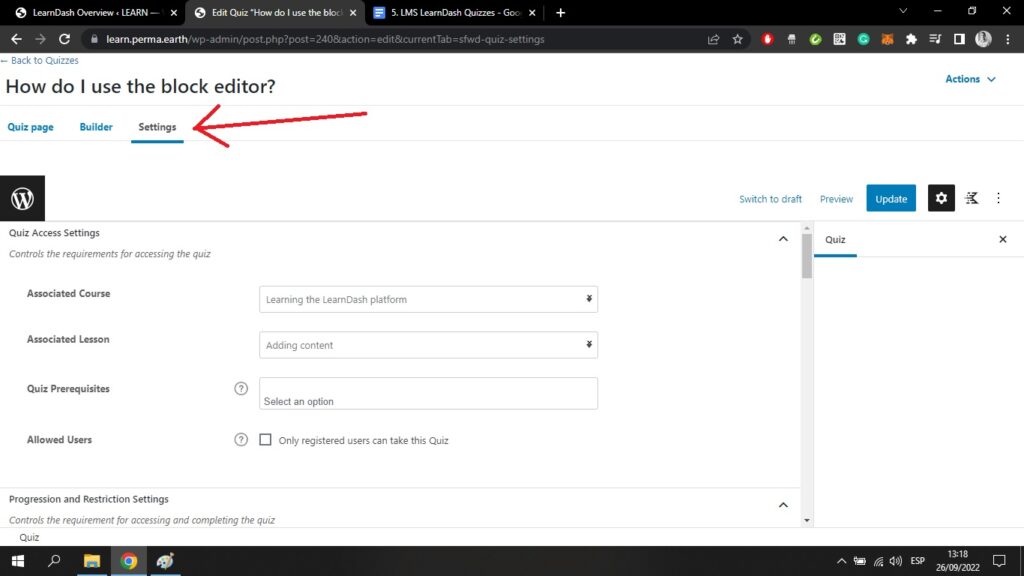
On this page, you can see the Associated Course and Lesson for your quiz. You can add Course Prerequisites, and you can choose to only make the quiz available to registered users.
If you scroll further down the page you will see the Progression and Restriction Settings;
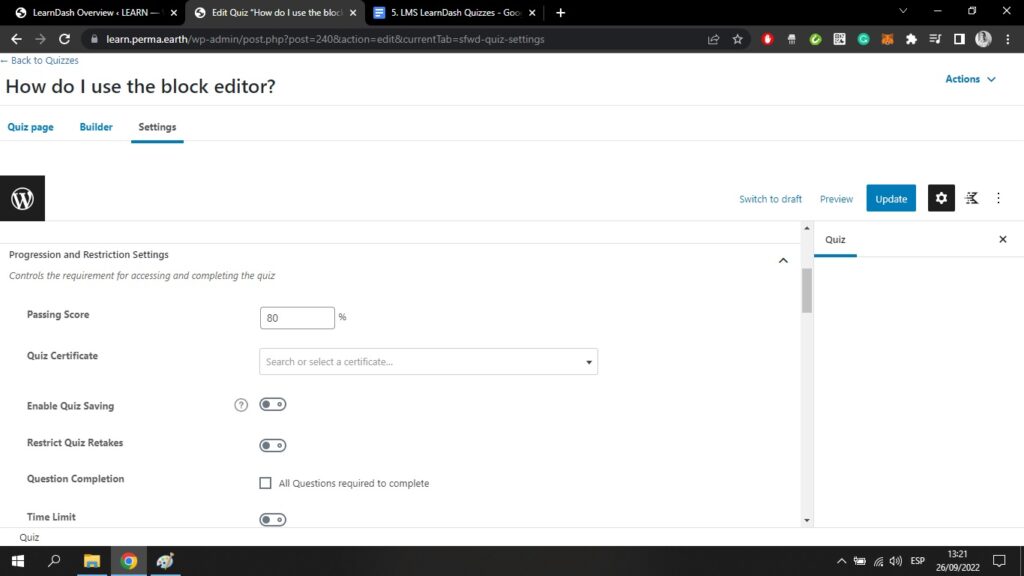
Here you can add the Passing Score for your quiz. You can choose to add a Certificate based on the completion of this quiz. You can restrict Retakes to a certain number of times.
If you tick the Question Completion box, users will have to complete all questions in order to finish the quiz. Finally, you can also add a Time Limit.
Scrolling further down the Settings page, you come to Display and Content Options;

Here you can add Quiz Materials from your device. You can choose to Autostart the quiz.
You can choose how you wish the questions to be Displayed. They can be displayed one at a time, or all at once. The results can be displayed all at the end, or immediately after each question.
You can choose to show an Overview Table that users will see before they take the quiz. You can choose question order by category or by random selection.
If you choose to select any of the following Additional Question Options, they will then be selected for display for all questions within your quiz;
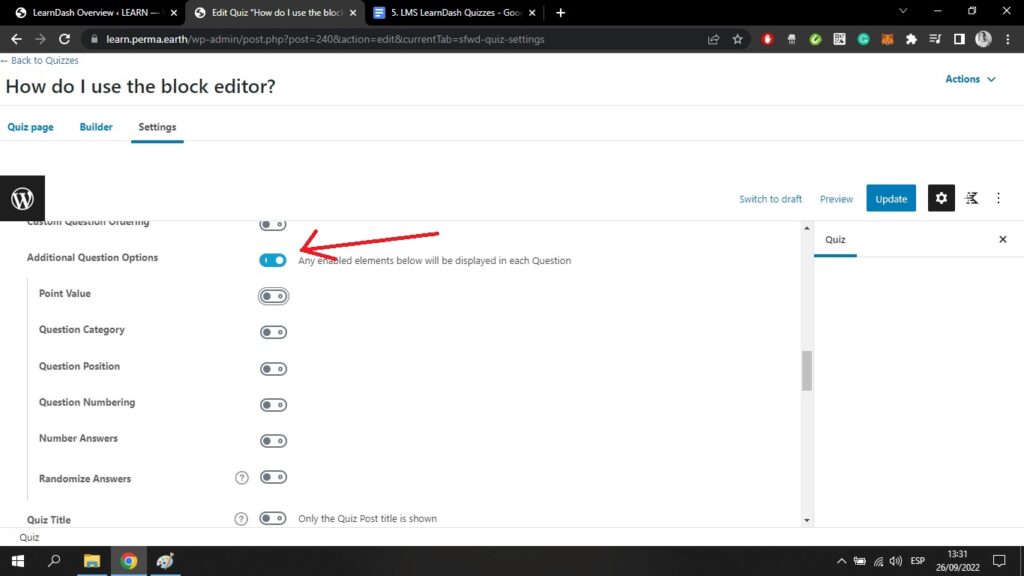
So you can choose to show Question Numbering, Point Value, Question Category etc. throughout the quiz.
If you continue to scroll down the Settings page, you will come to the Results Page Display settings;
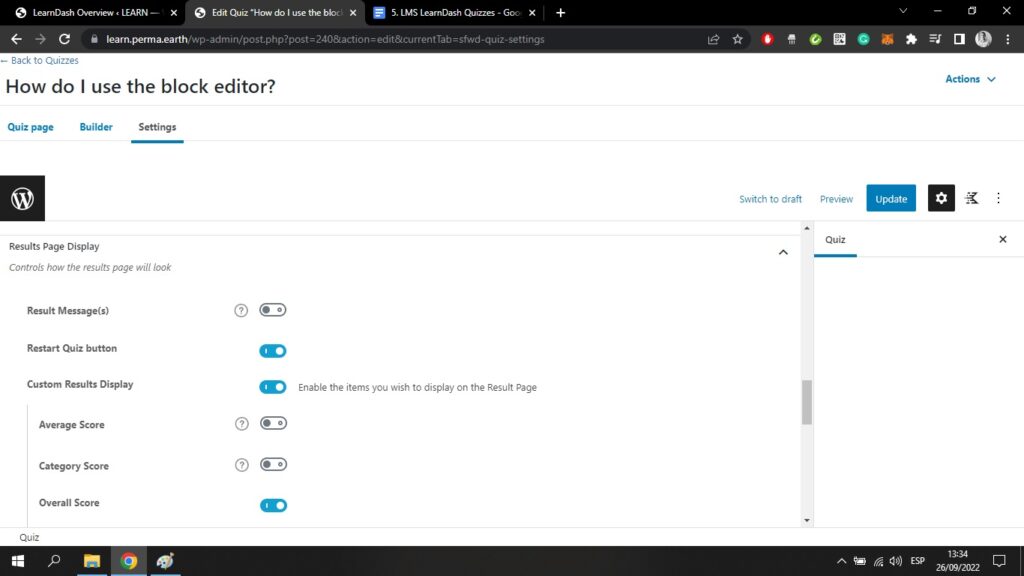
Here you can control how the results page looks. You can choose to display a custom message on the results page.
You can also choose to display the Restart Quiz Button, the Average Score, the Category Score etc.
Finally, at the bottom of the Settings page, you have the Administrative and Data Handling Settings;
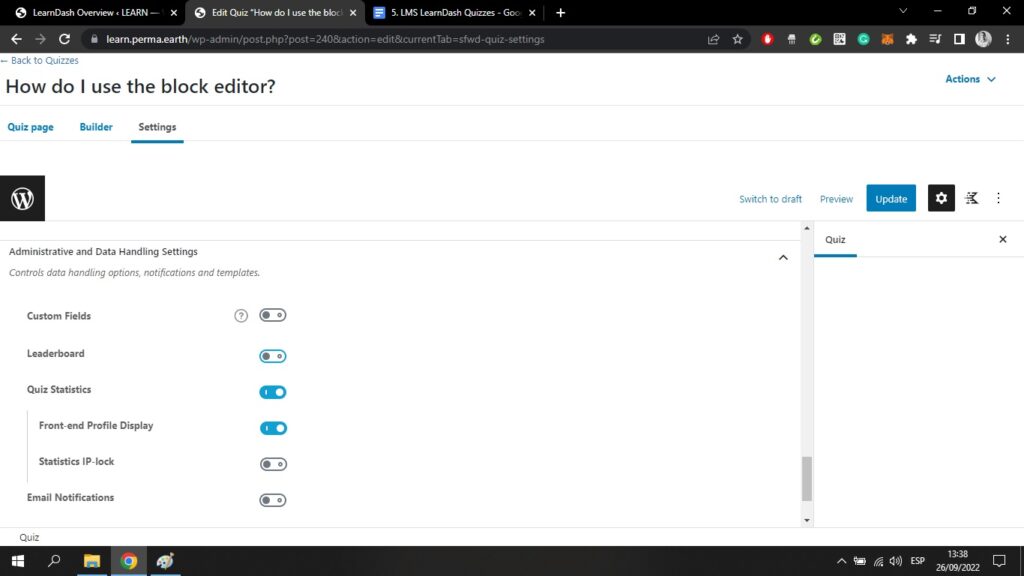
If you choose to show Custom Fields, you will be able to gather data from your users. This would be non-quiz data about the people who are taking your quiz. This could be their age and other personal details.
You can choose to show the Leaderboard to show who has the highest scores. You can choose to show Quiz Statistics. You can also customize email notifications.
From here, you can click on the Builder tab at the top of your screen. You will then come to the quiz builder. This looks a lot like the Course Builder you have used previously;
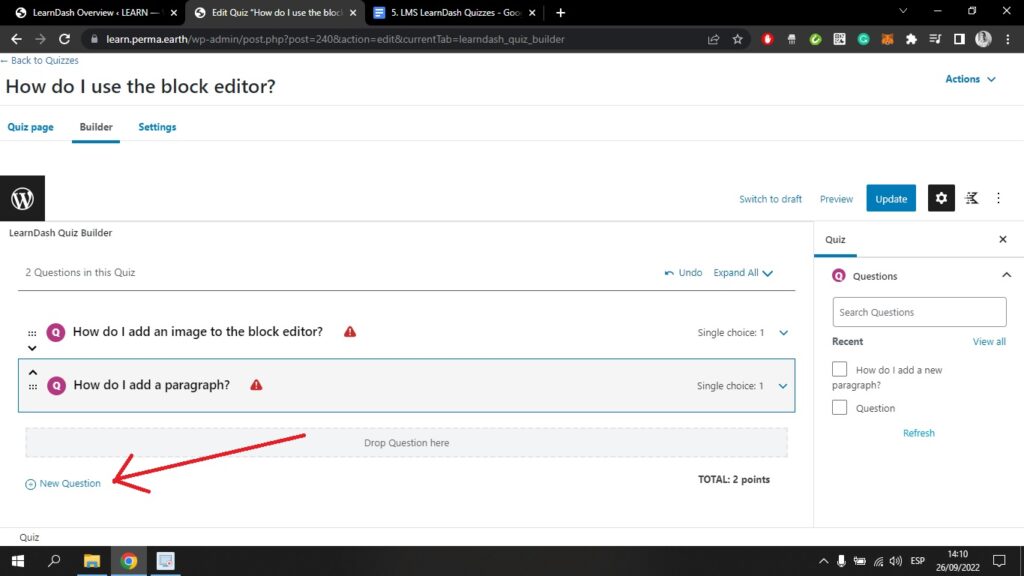
Here you can click the blue New Question button and add all the questions that you want to be in your quiz. On this page you are just creating the basic outline of your quiz.
Remember to click the blue Update button at the top right of your screen before exiting this page. We will go into more detail about fleshing out your quiz in the next lesson.